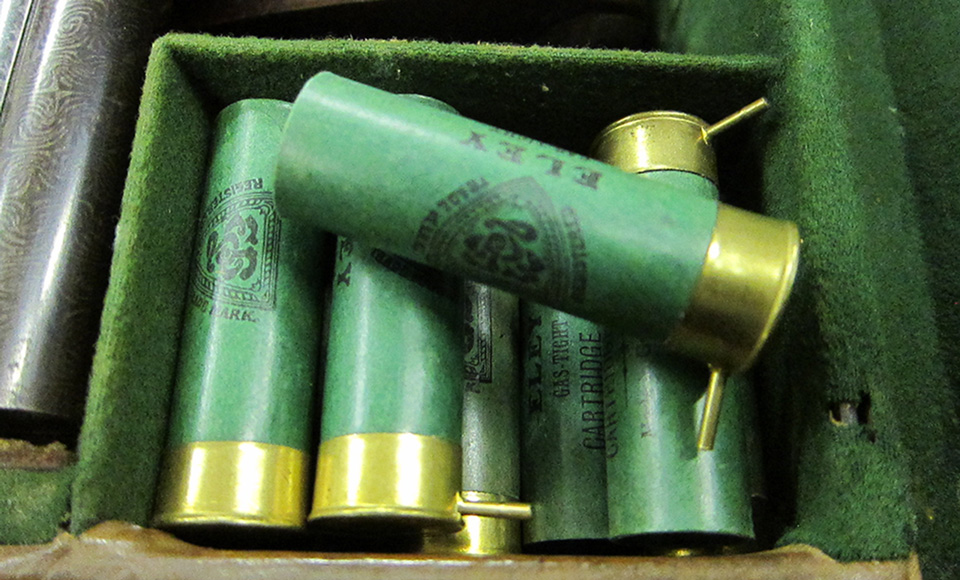
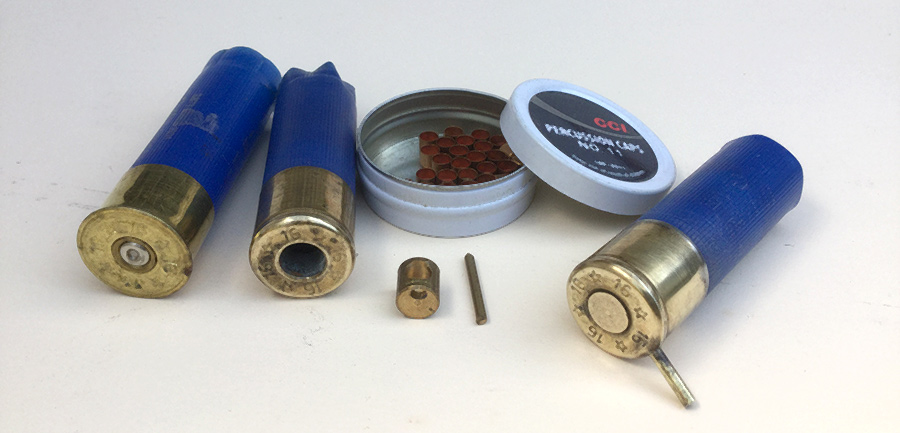
When this conversion is carefully done, the result is superior to original ammunition, both in terms of the case performance and the ballistic performance of the gun. The design of modern plastic centre fire cases lends them to being converted in this way. When this conversion is carefully done, the result is superior to original ammunition, both in terms of the case performance and the ballistic performance of the gun.
Most modern plastic cases are suitable for conversion and the very low base wad that is now usual makes them especially suitable for use with black powder. Since most pinfire guns will be found to be chambered for 2½inch cases, it follows that modern 65 or 67mm cases are to be preferred. Note that 2½” is, in fact, less than 65mm but the above lengths seem to work well. If 70mm cases are used, the crimp end will suffer when the case is fired.
For choice, I use cases with deeper metal heads, because these are less likely to buckle when the end crimp is applied. I strongly favour the crimp closure because of its proven superior ballistic performance.

The following description is of a basic, labour-intensive method, which, while it produces excellent ammunition, is also time-consuming. I’m sure that those with workshop facilities, and possibly the need for more efficient production, will improve on this method.
There are four stages to this conversion:
1. Reshaping the outside of the case
2. Enlarging the primer hole to accept a cap chamber
3. Making provision for the firing pin
4. Assembling the case
Reshaping the Outside of the Case
In essence this consists of swaging off the rim of a deprimed case. The method I use is to drive the lubricated case through a suitable die. For 12 bore, the resulting outside diameter of the rim is 20.6mm. So the die is big enough at the top to accept the rimmed case, then it tapers to the bottom parallel section.
The process is eased if there is a “steady” consisting of a tube that fits and supports the plastic case, and engages in some way with the main die to ensure that the case runs true through the swage.
If the swage is placed on a thick metal sheet, a nice flat head is produced.
Enlarging The Primer Hole
The essential feature of the conversion is a cap chamber that is fitted into the enlarged primer hole. The cap chambers I use are brass cylinders 7.9mm in diameter and 8.2mm long with a hole in one side to accept a No. 11 percussion cap. Running back from this hole is a flash hole 2mm in diameter and about half way along the radius. These dimensions are not critical.
It is necessary that this chamber is a tight, gas tight, push fit into the plastic base wad. To achieve this, I drill a 7mm hole through the metal lead and base wad, then with a flared punch, turn in the edge of the metal head – not too much, but enough to give a “lead” for the cap chamber.

Fitting The Pin
Do this after enlarging the primer hole, because drilling out the base wad can cause it to partially rotate. The aim is to have the pin a tight push fit in the base wad, while the hole through the metal head is larger than the pin.
The size of these holes obviously depends on the size of the pin. The best pins are those recovered from commercial cases, or I use brass nails, found on the web, or suitably-sized brass rods. For a 12 bore, they should be 22.9mm long, but beware if your gun is thick in the breech, you may need longer pins. Be careful not to make them too long or they will bend when struck.
It is VITAL that the points are needle sharp. If not you will get misfires.
The hole through the head must go to the centre of the cap chamber and be angled so that the pin leans backwards. See a commercial case.
I drill these by centre punching the metal head, with a sharpened 2” nail and drilling by eye. But obviously a jig could be constructed.
Assembly
Put a cap in the cap chamber and align the open end of this with the pin hole. Squeeze the chamber into the prepared hole. I do this in a reloading tool. Then gently push in the pin.
I have never fired a cap doing this and believe that, if it is done gently, it is perfectly safe.
Finally, load as usual with black powder. Since black corrodes brass – it’s the sulphur – I do not advise long storage of the loaded rounds.
Published by Vintage Guns Ltd on


