Are the ribs sound on your barrels? Suspending them by the hook over a finger and tapping them should produce a sound like a ringing bell; one sweet ringing tone.
Dull thuds and rattles are a sure sign that something is amiss, and, very likely, means the ribs have come loose.
In simple terms the construction of shotgun barrels is of two separate tubes, connected at the breech end either by high temperature brazing or soldering and many contrived mechanical joints, or by being pressed and welded to a mono-block.
Whatever the method of construction, the other 28 inches of barrels would be unsupported without the ribs. On most guns ribs are fixed in place using soft tin/lead solder. Solder might not sound like an immediately good method for joining ribs but it has its benefits. Solder and brazed joints can be made exceptionally strong.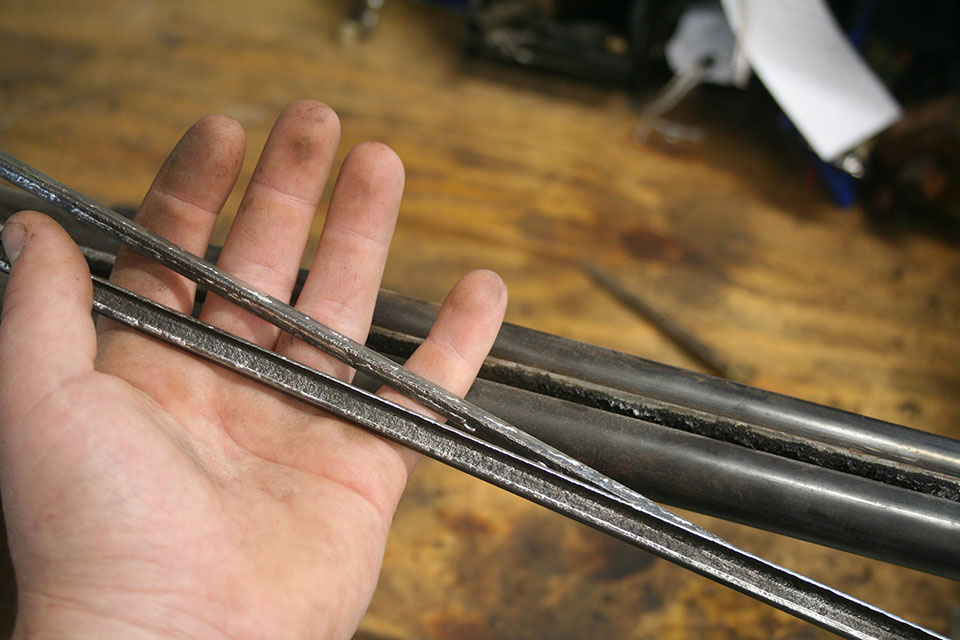
Generally speaking, a joint to be soldered or brazed will be strongest when the gap between the two parts to be joined is smallest. This is why huge gobs of soft braze fail, but when run at high temperature into fractured parts prove exceedingly strong and lasting. This is why makers of best guns labour for hours over the fitting of ribs, the closer the fit of the ribs to the barrels, the stronger and more lasting the join.
Soft soldered ribs can also be heated-up again to regulate barrels. On poorly made barrels it might be found that one barrel shoots higher or lower and, by heating the solder joint, the barrels can be manipulated in order to regulate the point of aim and impact, in double rifles this process becomes absolutely essential.
The gun I’m writing about today is a reasonably good quality Armstrong and Co boxlock with Baker ejectors and side plates; the best of a bad bunch bought at a provincial auction. The list of problems with this gun will ensure I’m never short of subject matter for these pages.
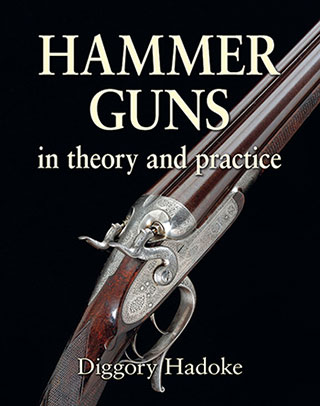
To start the restoration we first look at the barrels, essentially new, with nitro proof, good wall thickness, replacements rather than sleeved, a solid start but; the ribs had come loose, and there seemed to be a lot of rubbish rattling around in the rib cavity.
Relaying ribs is a long process for which I like to set aside at least a day, but sometimes longer...
Relaying ribs is a long process for which I like to set aside at least a day, but sometimes longer depending on how much cleaning of the rib cavity is necessary it is a messy job which should be undertaken with care at all points and requires some special equipment although none of it particularly expensive. This process was shared with me by a fellow gunsmith while in my teens, as with almost all gun-smithing, there are many ways to skin a cat.
It’s a job I really couldn’t recommend less to an amateur, but the cost of labour can be high compared to the value of some lower end guns. Great auction purchases can turn into pups when the ribs are found unsound, it can make a fine gun feel like it’s going to fall apart, it can result in unpleasant vibrations on firing, it allows the ingress of dirt and water promoting rust between the ribs, it can cause barrels to point in different directions, and gaps you might not have noticed will be a problem if the gun is ever to be re blued or browned.
Removing the ribs is achieved by heating the barrels with a blow torch and once the solder is flowing carefully, wedging the ribs away from the barrels, anyone undertaking this task should do so with extreme care - a rib once bent is a very difficult job indeed to straighten, so at all points handle the ribs ( particularly the under ribs ) with care.
Another thing to look out for it spacers falling out, along the cavity you may find some spacing blocks which sit In the gap between the ribs either as spacers or in order to regulate convergence if these fall out take special notice of their positions and orientations . One of the things I don’t like about relaying ribs is you really shouldn’t dip in and out of it, once the barrels have been heated up they will be encouraged to rust, removing the ribs and then leaving the job for a rainy day is not recommended for this reason.
Oiling the tubes will result in fumes and could interfere with your solder joint so you are best just completing the job in one sitting. It’s a job which, in of its self, is a quick process, but takes a huge amount of prep and clean-up time.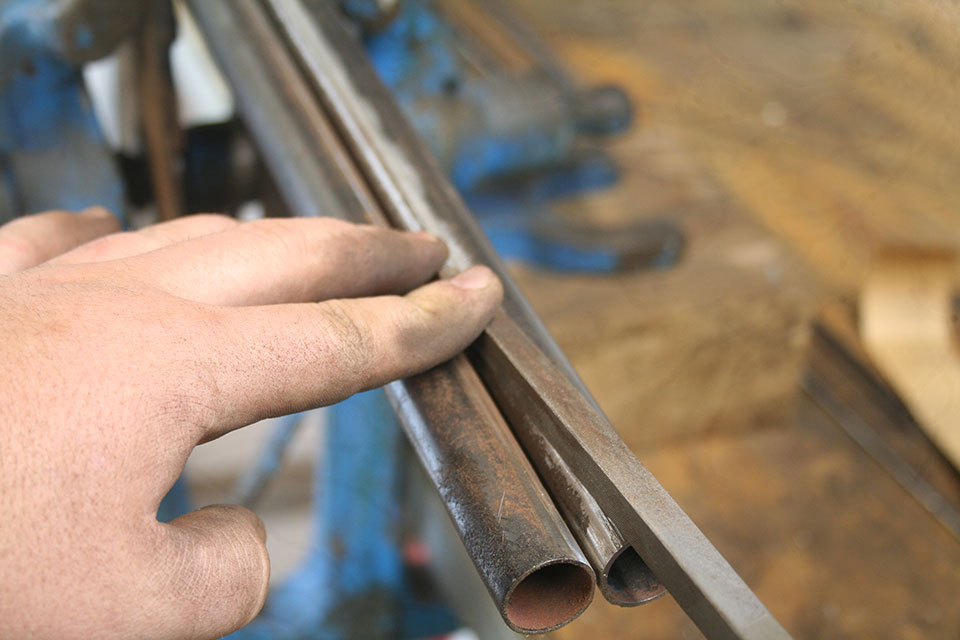
Once the ribs are removed the full glory of the rib cavity is revealed, expect to find residue of burnt flux, excess solder and rust in here. All of which must be entirely removed, the rib cavity must be cleaned up bright, the excess solder from the original solder join must be worked down, a chisel, file and emery paper are good tools to use here.
...expect to find residue of burnt flux, excess solder and rust...
The barrels must be cleaned of old solder and the cavity polished up to remove the worst of the rust which is almost always present. Most crucial is that the mating surfaces of the ribs and the barrels are bright and clean, I use a wire wheel in the drill press to clean out the concave area of the top rib for good measure.
To solder steel together you must first tin the steel, tinning is a process that deposits a thin layer of tin on to the steel and allows the solder to flow and join the two pieces. There are many ways to tin steel; I’m using a product called Fryolux which has the downside of leaving behind a corrosive residue.
Tape is used to mask off everywhere we do not want the fryolux, we only need to use a very small amount, we don’t want big globs in the rib cavity. Once the fryolux is applied we remove the tape and the parts are heated up in sections with the gas torch until the tin in the paste melts, Is can then be spread over the steel with a damp rag. Working in sections we deposit a thin layer of tin over all the parts to be joined. Fryolux is corrosive so now we take extra care to wash and clean all of the parts we have been working with, top and under ribs and the barrels in order to neutralise and residue and give a clean surface to proceed with.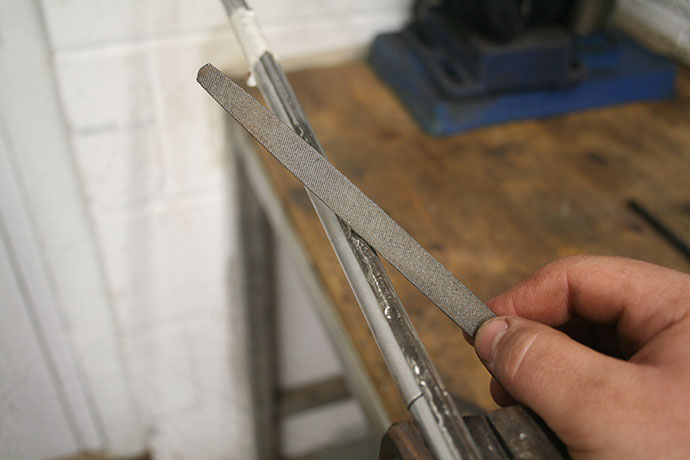
In order to proceed we need to set the barrels up on flat surfaces, two blocks of steel will do, one supporting the breech end and another at the muzzle. I like to clamp the breech end flat and then push the muzzle end down on the forward block to ensure the barrels are both in alignment, once flat they can be secured with a tool-maker’s clamp.
This time I used an old half-round file with the teeth ground out, cut in half and entered into the muzzle end of the barrels and secured the muzzle ends together with a hand vice over the protruding ends of the repurposed file.
Now, the barrels are clamped and flat we can begin wiring-up. The wires will be used to hold the ribs firmly down against the barrels. The top rib usually needs to be in place while wiring up, so lay it on the barrels, the under rib can be slid in after the wires are in place.
You need to find non galvanised annealed iron wire, it needs to be about 1.5mm thick wire in order that it doesn’t stretch or break when heated up. I found a huge pack of pre-cut wire on Ebay years ago and it’s served me very well in the workshop from relaying ribs to holding small parts to be tempered. Plastic coated or galvanised wire will not work here and I had a hard time finding the right sort of wire when I needed it.
Pairs of wire are wrapped and twisted around the tubes 1.5 inch increments all the way up the barrels; don’t worry about getting them completely tight. The top rib can now be wedged down the best thing I have found for this purpose is farriers nails, they are naturally tapered and don’t mark up the ribs, these nails are driven under the wires and used to hold down the ribs to the barrels with firm even pressure. While you do this check to ensure that the rib is going down straight and not getting hung up on anything, there is nothing worse than going through all the prep to find you have ribs like a banana, it’s easier to sort now rather than after soldering.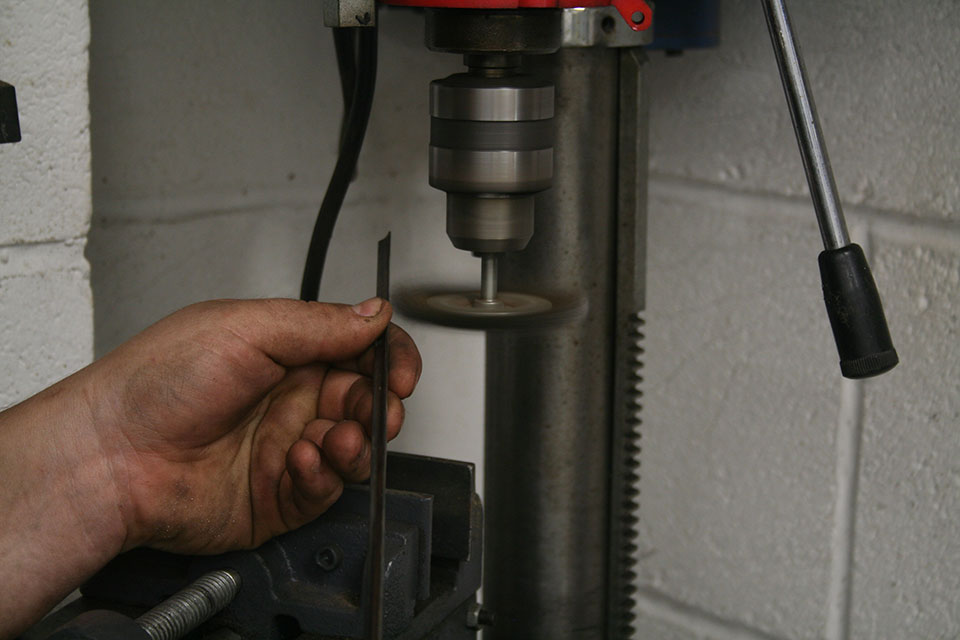
With the top rib clamped-down you can proceed to slide in the under ribs and forend loop and wedge those down also, you want to make sure at all points that the ribs are pushed firmly up to each other, and again look out for any bends that might present themselves.
This stage is pretty self explanatory, the barrels are then flipped so you have the top rib upper most, and then after a final check you can begin soldering, I like to work from the breech to the muzzle, the breech being thicker takes more heat.
I use a 60/40 tin lead solder with a rosin core, I also like to have plenty of extra crushed rosin in order to keep the joint well fluxed. I like to put a big nozzle on the propane torch as I can keep the barrels from getting too hot, once the rosin is melting you are pretty close to the temperature at which the solder will flow, working along the barrels feed your solder into the join, capillary action and your well tinned surfaces will do the rest, I like to see solder running out of the under rib to be sure that the under rib is also well soldered, Ventilate the workshop and have a cup of tea while the barrels cool down.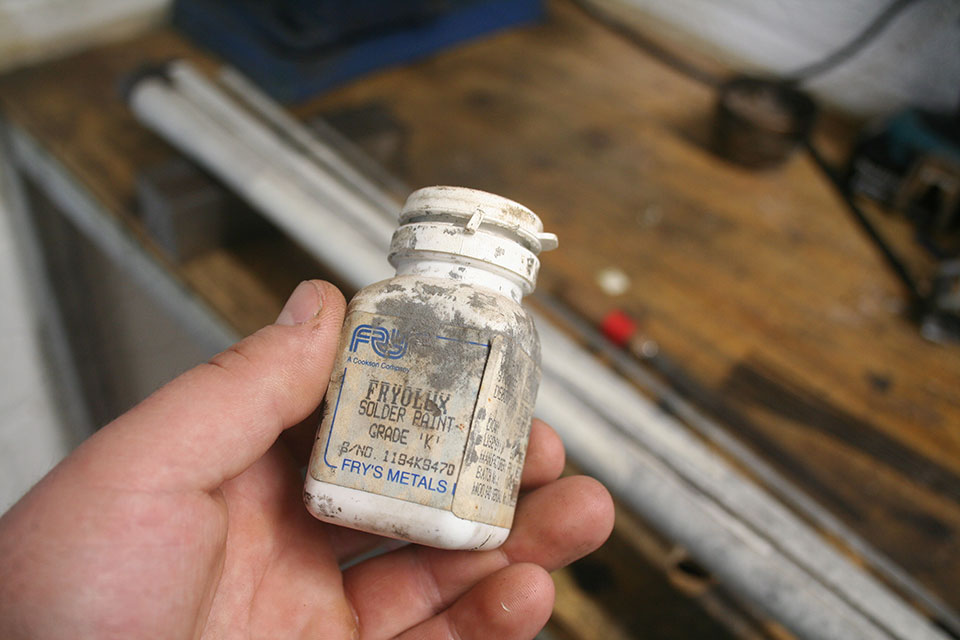
Solder clean up at this point is tedious, I like to run plenty of solder through, it’s a relatively cheap consumable and I’m then confident there will be no gaps or issues to go back over. A horrible mix of hard glassy rosin and solder will be left to clean up, I use the end of a three square file sharpened to a chisel point to get the worst of it out, and then scrape back to the steel with a chisel.
Once I’m confident the solder is all removed I begin to polish up the barrels paying close attention to the join aiming to remove any remaining solder residue. There may be other ways to check but painting on a bit of cold blue solution will instantly reveal if there is and remaining solder visible.
Inspecting the job I’m pleased with how these barrels have come out – they had been aggressively mop-polished in the past so striking them off improved the surface somewhat, the ribs are straight and flat, no hills or valleys. Relaying ribs is a tedious job, not to mention a dirty one that takes over the workbench for a day or more. However, once done, new life is breathed into an old gun, which is very satisfying.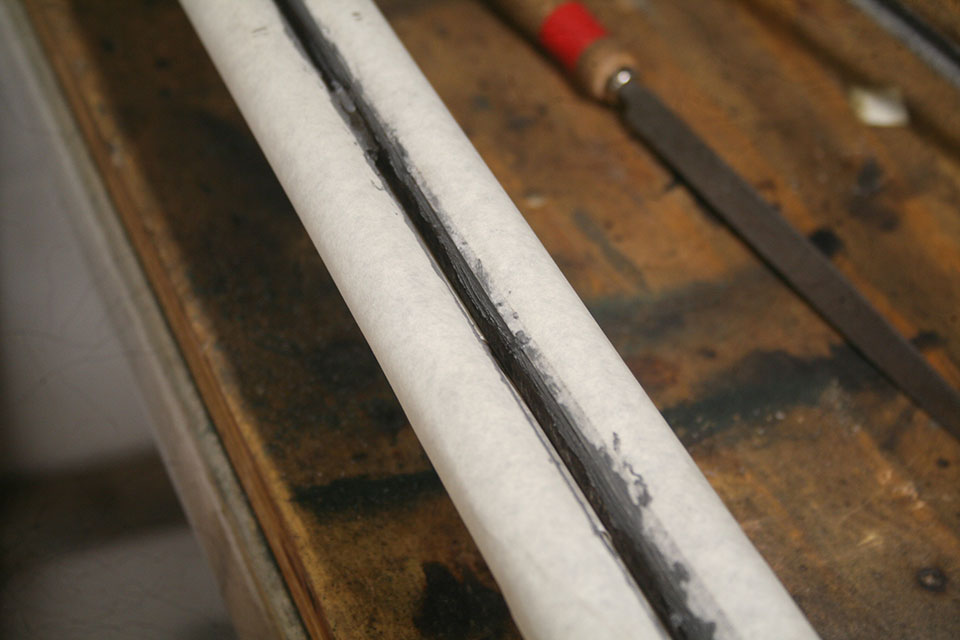
Published by Vintage Guns Ltd on