Guns are jointed on the circle; which is to say the radius on the front of the rear lump should take its centre from the central axis of the hinge pin this is why despite 10 thou of wear the gap between the breech and action is rarely correspondent with the wear on the pin, sometimes when a full re joint is necessary this surface needs to be built up.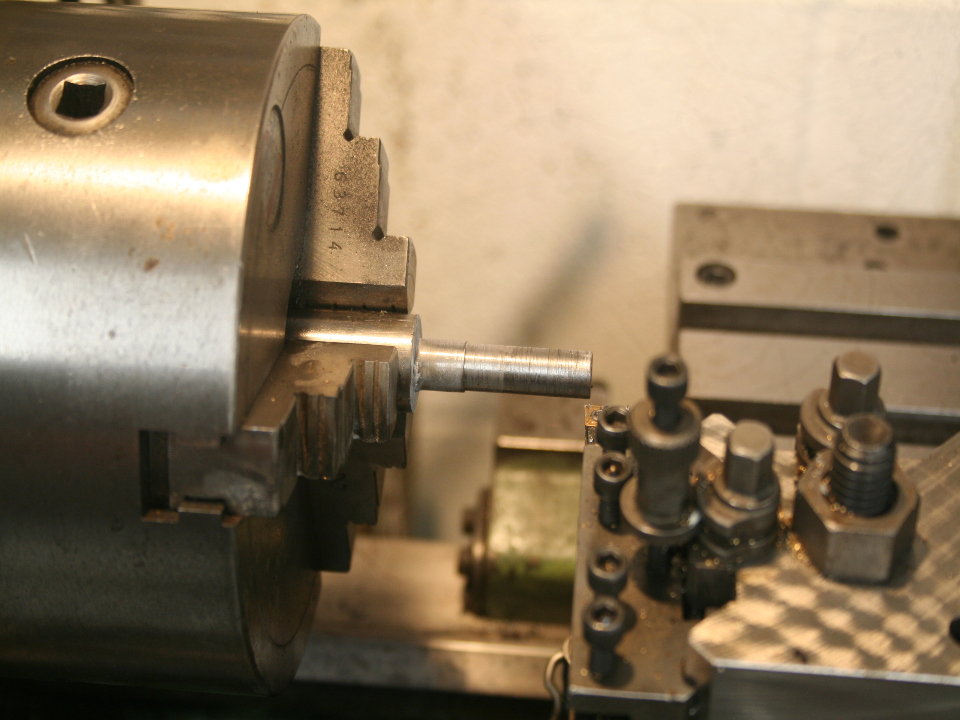
Whenever making replacement parts it pays to make a quick drawing of the part you intend to replace, jotting down the measurements alongside the drawing saves the tedium of running backwards and forwards and leaving your callipers here there and everywhere.
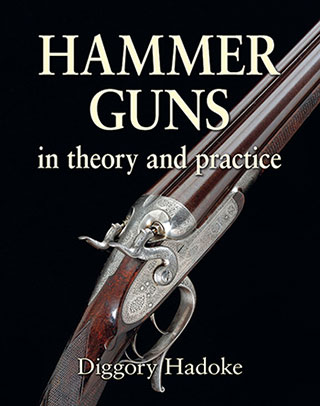
I fired up the lathe and turned some bar down to the correct dimensions, never rely alone on measuring the old pin, check also the holes into which the pin will fit. Humans try and work to round numbers, if a pin measures .248” in diameter it’s likely the original manufacturer was aiming for .250”, always check this assumption but it’s generally true in my experience of all things be it lengths of springs or diameters of pins, random numbers make little sense.
To make the new pin you need access to a lathe, I’m not going to walk you through the process, it is two very simple turning and facing operations to make the pin blank. After rough turning I finish the pin up with a bit of emery, being sure not to remove too much from the diameter in the process. The new pin is press-fitted in to the action; there is no need for any fancy press, it’s an interference fit and the vice ( well padded ) will serve.
Once pushed safely home, a new grub-screw was fitted and filed flush as per the original manufacture. The action is then held in the vice while the proud ends of the pin are dressed down flush with the action.
The excess is first cut off with a the hacksaw, then the a bastard file is used to work the head of the pin down to within a few thou of the action, as we get closer to the action I move down to second cut and then smooth files, this job was purely functional, but normally it would be at this stage that any engraving would be cut into the new pin. 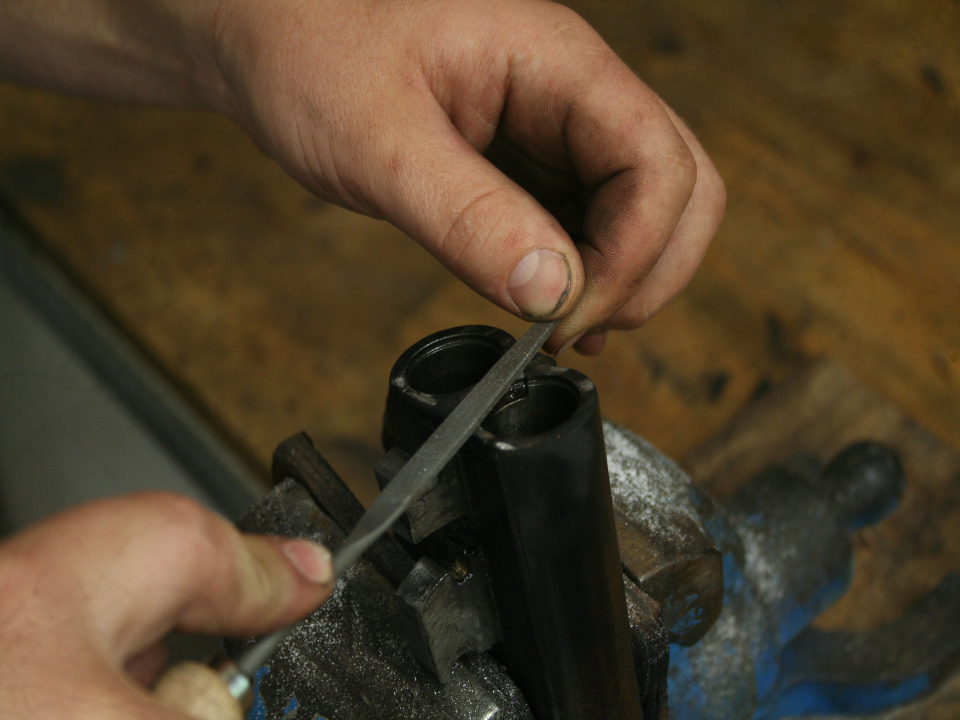
However, for this job we simply needed to blend the shiny new pin in with an action with nearly 150 years of honest patina, the pin was warmed up, and treated with cold blue, I then purposely left the solution to form a bit of rust for the next 24 hours, which I then treated with some hot oil, the result disguised the pin well enough to the casual observer.
With the new pin fitted the job is not over yet. The barrels closed and locked-up with the lever sitting slightly left of centre and, with the new pin, the forend was back on a bearing with the knuckle but the barrels were not closing with that satisfying “thunk”.
The barrels were not quite closing up to the breech face, standing off by probably less than two thou. At this point we smoke the breech face of the barrels. The paraffin lamp is used throughout the process of making a gun in order to show a bearing when fitting components together, it’s one of the most simple and indispensable tools on a gunsmith’s bench. The rich-burning sooty orange flame deposits a fine layer of soot on to the breech face, the barrels are then put back onto the action, always with the forend installed, and the barrels worked open and shut with the action. 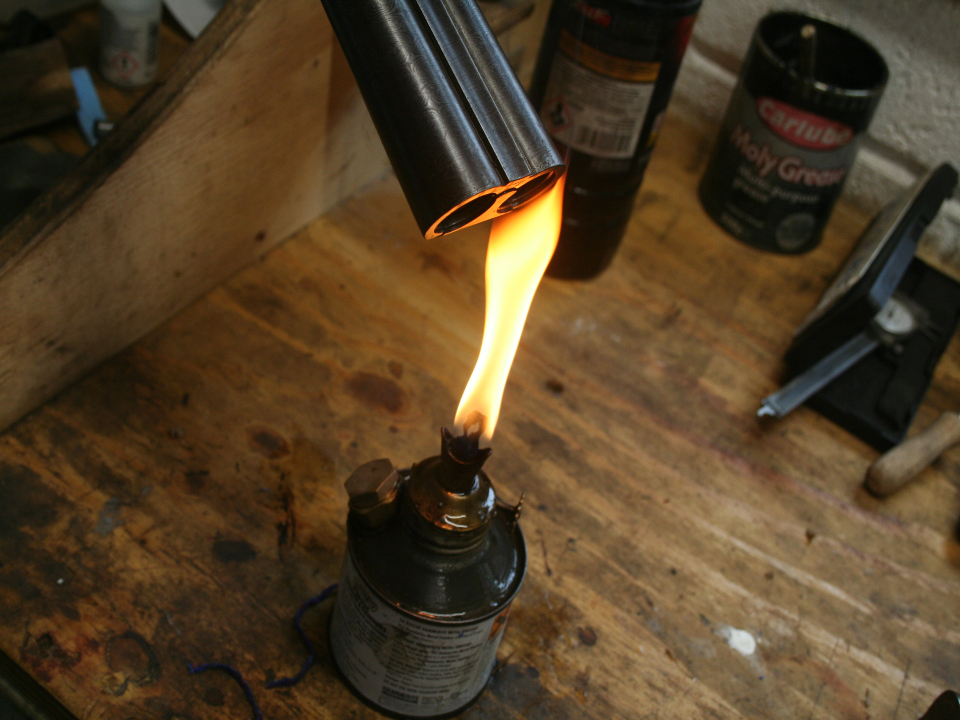
The result of this should be that a bearing will appear where the sooty deposit is removed. This is where the metalwork is standing proud, the thing to do now is repeat this process, filing the breach face down until you have a relatively even bearing, on a well-made gun with a clean action this fitment can be made gas tight; on older guns where the standing breech might somewhat pitted this is more of a challenge. Gas tight ego aside, you will hear and feel good fitment as well as see it in the transfer of the soot.
At this point the breech end has been filed this way and that with fine needle files, and while the fit is good, it doesn’t exactly look presentable but a bit of clever polishing sorts that. The extractor is removed and polished north to south with 600 grit papers to remove the file marks; while the extractor is removed we then polish the breech face east to west to 1200 grit, and then make vertical marks which are purely decorative with some 600 grit backed by the thin edge of a ruler north to south at intervals across the breech face. The amount of metal being removed with these fine papers is very minimal and will not greatly affect the fit of the breech to the action.
Not every phone call leads to a perfect sleeper, yet these old guns mean far more to their owners than the pounds and pence they might be worth and it gives me great joy to work on these heirlooms
Published by Vintage Guns Ltd on